
Let’s learn how to raise monarch butterflies at home! Watching the monarch butterfly life cycle unfold is a magical experience that can educate and inspire your kiddos and hopefully you as well! We’ll guide you through the steps to attract, raise, and release monarch butterflies in your backyard, providing a fun and educational project for the entire family. Let’s get started on this fun summer project!
Step 1: Attract Monarch Butterflies to Your Garden
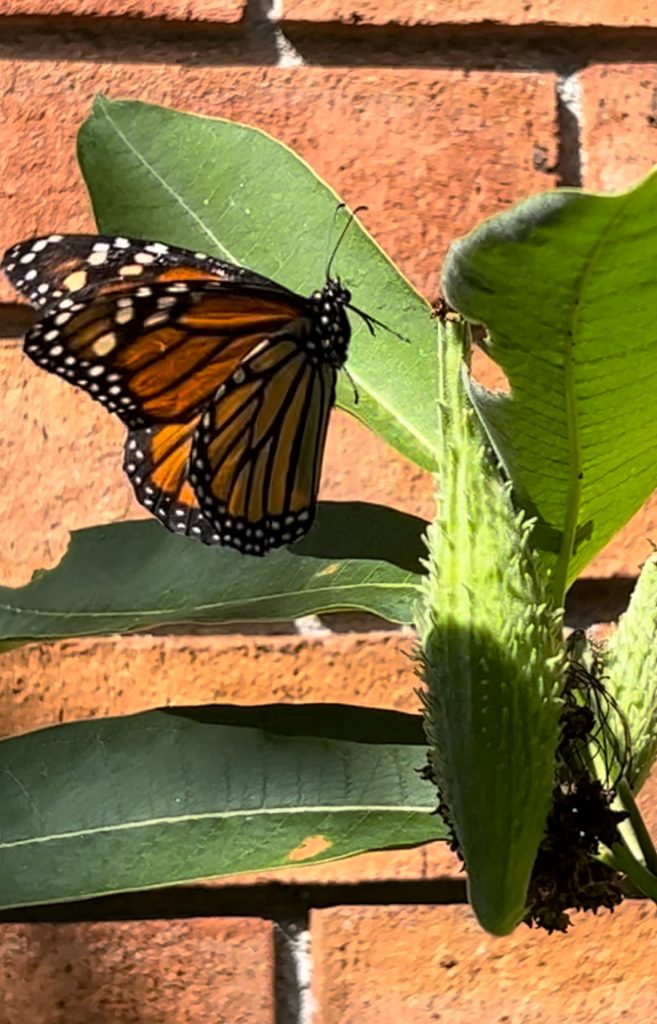
Plant Milkweed: When it blooms in the garden, it attracts lots of butterflies and bees! Monarch butterflies lay their eggs exclusively on milkweed plants. If you are curious to see what an egg looks like, find it here! To attract monarchs, plant milkweed varieties native to your region. Common types include Common Milkweed, Swamp Milkweed, and Butterfly Weed. We found our caterpillars on Common Milkweed, also known as Silkweed, Butterfly Flower or Silky Swallow-Wort (Botanical Name: Asclepias Syriaca). It is a flowering perennial that loves full sun! Hardiness zones 3-8.
Safety Note! Milkweed contains a milky latex which can be toxic in large amounts and can irritate eyes. Cutting fresh milkweed should be done with a parent and wash those scissors really well after!
Best Plants to Attract and Raise Monarch Butterflies at Home

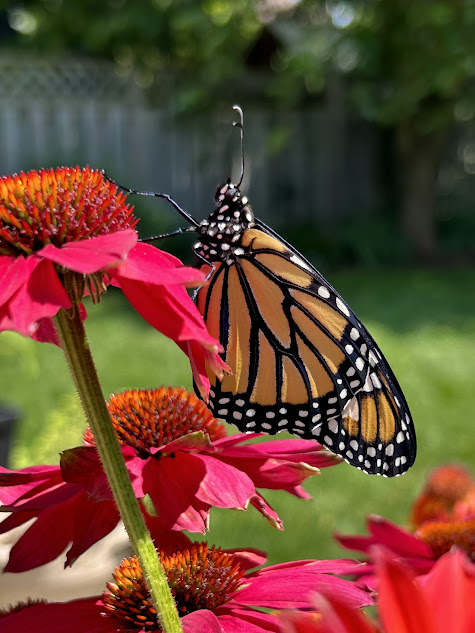
Add Nectar Plants: Adult monarchs feed on nectar from a variety of flowers. Plant colorful, nectar-rich flowers like zinnias, cone flowers, and lantanas to attract and sustain them. For Father’s Day, we planted a collection of beautiful nectar rich perennials in pots. They will be transferred to the ground at the end of summer. The collection of pots are on our deck and can be seen from the kitchen window where dad spends a lot of time! We thought it would be lovely to look out and see all the bees, butterflies and hummingbirds.
Create a Water Source: Butterflies need water to stay hydrated. Provide a shallow water source, like a birdbath with rocks or a shallow dish filled with sand and water. This is an optional step as we find the maintenance difficult. We are away a lot during the summer and are not able to change the freshwater on a regular basis. If you have any suggestions that have worked for you, please let me know!
Step 2: Identifying and Collecting Monarch Eggs and Caterpillars

Search for Eggs: Monarch eggs are tiny, white, and typically found on the underside of milkweed leaves. Check your milkweed plants daily for eggs.
Collecting Caterpillars: Once the eggs hatch, tiny caterpillars will emerge. Their first food is munching on their egg casing. They need all the nutrition they can get! Carefully transfer the caterpillars to a safe container with fresh milkweed leaves.
Provide a Habitat: Use a small aquarium or mesh cage to house the caterpillars. Ensure they have plenty of fresh milkweed leaves to eat.


Step 3: How to Raise Monarch Butterfly Caterpillars at Home
Feeding and Cleaning
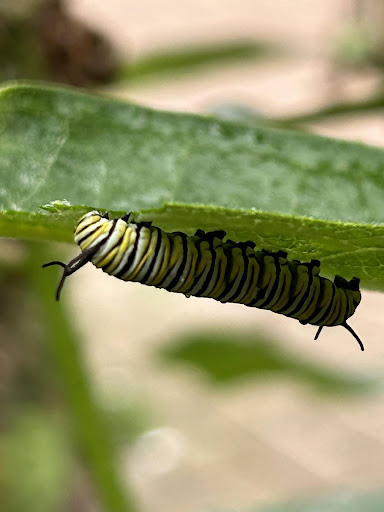
Caterpillars are voracious eaters (seriously, they snack more than my kids after school!). Because of this, you need to provide fresh milkweed leaves daily and clean the container regularly to remove frass (caterpillar droppings). You will not believe how much they poop … like so much poop! We cleaned it nightly and also cut milkweed stems and placed them into a cut pop bottle base with water to keep them fresh. Lastly, don’t forget to cover the water source with plastic wrap so they don’t fall in!
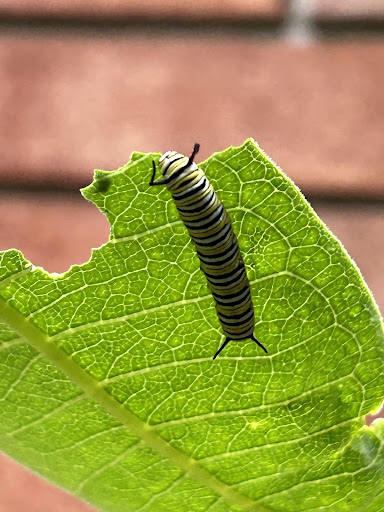
Monitoring Growth
Caterpillars will molt several times as they grow. Each stage is numbered 1-5 and are called “instars”. They are very tiny and just hatched in their 1st instar. Each instar has a range of size in millimeters that will give you clues as to which stage they are in. YouTube has lots of videos on this! Encourage the kids to observe the different stages of growth and molting, noting the changes in size and coloration. We decided to document ours through art to make it more like summer and less like school!
Once your monarch caterpillars are big and healthy, get ready—things are about to get exciting! When they’re ready to pupate (which means turning into a chrysalis), they’ll start acting a little different. First, you’ll notice them crawling around, usually heading to the top of the container. They might wander a bit, like ours did, as if they’re looking for the perfect spot to hang out. Eventually, they’ll settle down and form a little “J” shape, with their heads pointing downward. This is your sign that pupation is coming soon! Once they’re in that J shape, they stop moving completely—it almost looks like they’ve frozen in place.
Helpful Tips
If you’re using a mesh butterfly enclosure with handles on top, try folding the handles down gently. Why? Because it creates the feeling of a leaf above them, which gives them a cozy and safe spot to attach and begin their transformation.
Also, you can help out by adding sticks or even a mesh lid—basically anything secure they can hang from. That way, they have options for where to attach when it’s time to become a chrysalis. Watching this stage when you raise monarch butterflies at home is such a fun and magical moment, especially for kids!
Step 4: Now for the magic!
Forming The Chrysalis
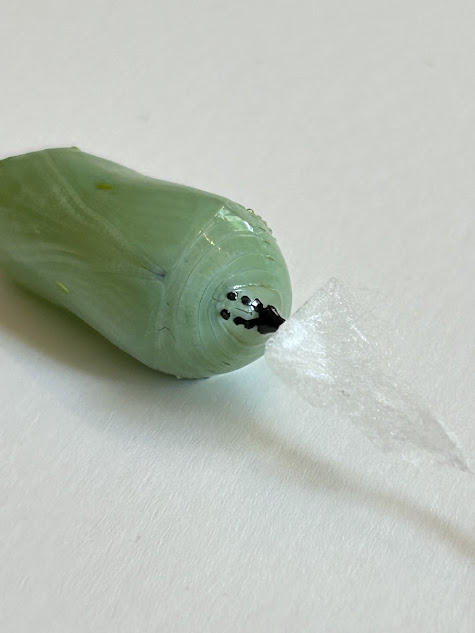
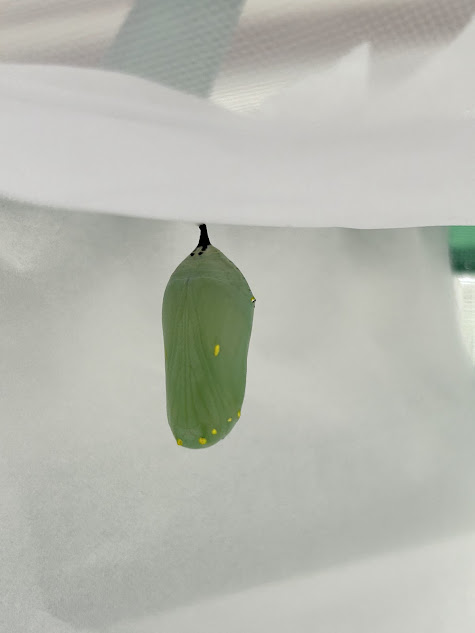
After that, the caterpillar will shed its skin one last time to reveal the chrysalis, one of the most magical parts when you raise monarch butterflies at home! This beautiful, jade-green pod will house the transforming butterfly. The kids and I tried hard to watch for signs that our caterpillars were ready to form their chryslides. Once they started to shed their skin it happened in less than a minute, so be ready, it’s very quick! The kids observed the caterpillars starting to contract and relax in a rhythmic pattern. They also observed the antennae starting to ‘wilt’. These observations happened in the last hour before the big moment happened.
Observing The Chrysalis
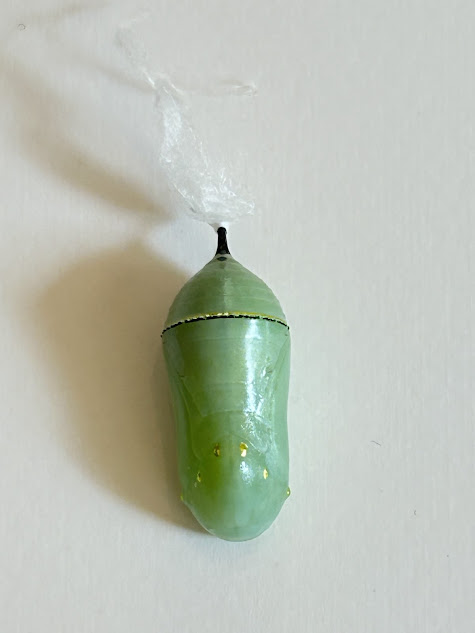
Next, monitor the chrysalis daily. After about 10-14 days, it will darken and you’ll be able to see the butterfly inside. Did you notice the gold flecks on the chrysalis? They are part of a protective layer. The gold spots you see aren’t actually “gold” but are just light-reflecting structures in the outer layer of the chrysalis. These structures help protect the butterfly inside from predators, like birds or insects, by making the chrysalis look shiny and hard to spot. It’s almost like nature’s way of camouflaging the butterfly while it develops.
Breaking Out: Finally, when the butterfly is ready, it starts to break the chrysalis open with its small, sharp “pipping” structure (like a tiny tooth). This can take some time, but you’ll see the butterfly slowly working its way out.
Stretching Out: Once the butterfly’s body is free, its wings are small, wrinkled, and soft. When this happens, the butterfly’s body is usually a bit swollen and the wings are still too small to fly.
Pumping Fluid into Wings: To get its wings ready for flying, the butterfly pumps fluid from its body into its wings. This fluid is called “hemolymph,” which is like the butterfly’s blood. The hemolymph fills the wings and helps them expand, making them bigger and stronger.
Drying and Hardening: The cool thing is, after the fluid fills the wings, the butterfly hangs out for a while, allowing its wings to dry and harden. The wings need to be strong and stiff before it can take its first flight. All the work to raise monarch butterflies at home is about to pay off!
Step 5: Releasing Your Monarch Butterfly
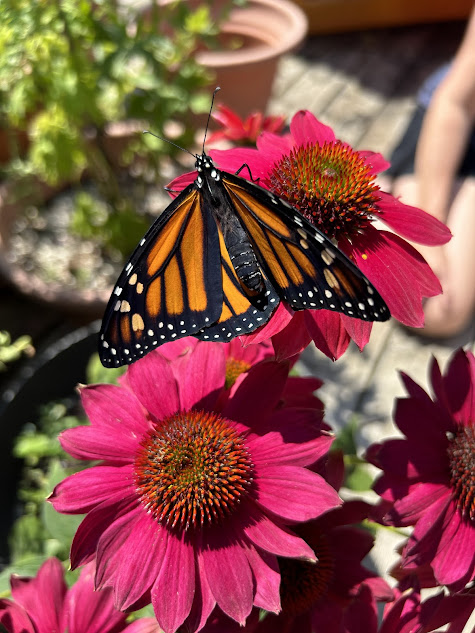
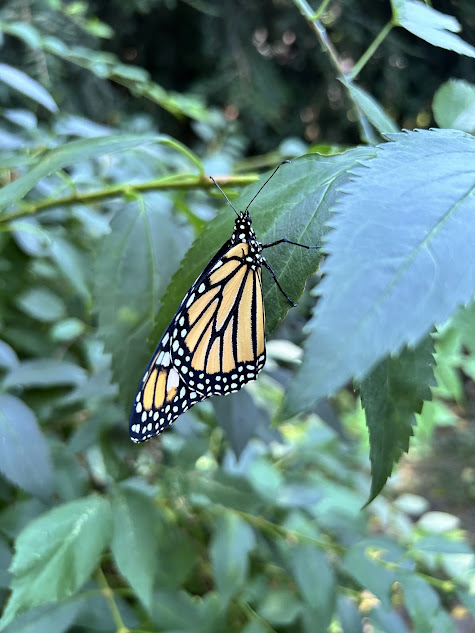
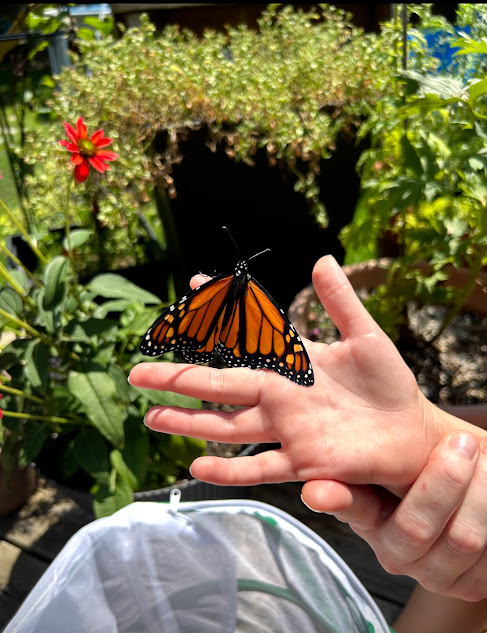
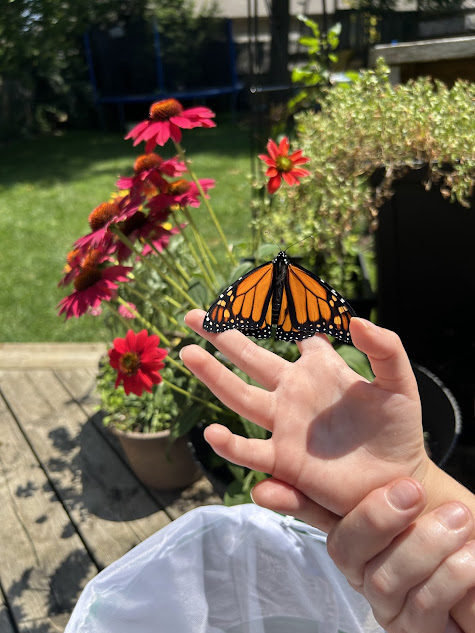
Preparing for Release: Finally, choose a sunny day for the release. Ensure the butterfly has enough time to acclimate to the outdoors before evening and get ready for the big moment!
Saying Goodbye: You’ve taken the time to raise monarch butterflies at home, now it’s time to gently place the butterfly on a flower or your hand and watch as it takes its first flight. This is a moment of joy and accomplishment for the entire family. I might have teared up. Ok I fully bawled, I’m a softie!
Congratulations! You and your kiddos have done the work to successfully raise monarch butterflies at home! They say that butterflies are a sign of hope and transformation which I think is a beautiful message to attach to this summer activity that combines education with hands-on fun. Enjoy and happy summer!
If you are interested in participating in Monarch Tagging, check out the link below!
https://monarchwatch.org/tagging
How Long Does it Take to Raise Monarch Butterflies at Home?
After the caterpillar forms a chrysalis, it typicall takes 10 to 14 days for the adult butterfly to emerge. The exact timing depends on temperature and enviromental conditions-warmer temperatures speed up development, cooler ones slow it down. A well regulated, warm, and sheltered space helps ensure healthy metamorphosis during this time
Monarchs are most attracted to milkweed (Asclepias species), which is their only host plant for laying eggs-caterpillars feed exclusively on it. Popular native types include common milkweed (A. syriaca), green antelope-horn (A. virdis), and antelope-horn (A. asperula). In addition, adult monarchs need nectar rich flowers to feed on. Great optons include bee balm, coneflowers, lavendar, slavia, aster, yarrow, and butterfly bush, especially when they’re native to your region and bloom throughout the season